
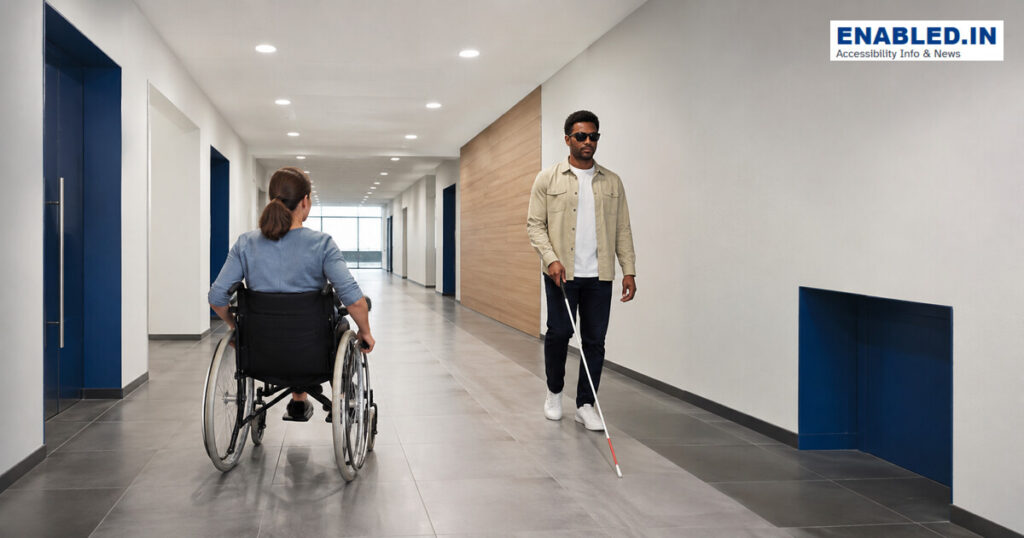
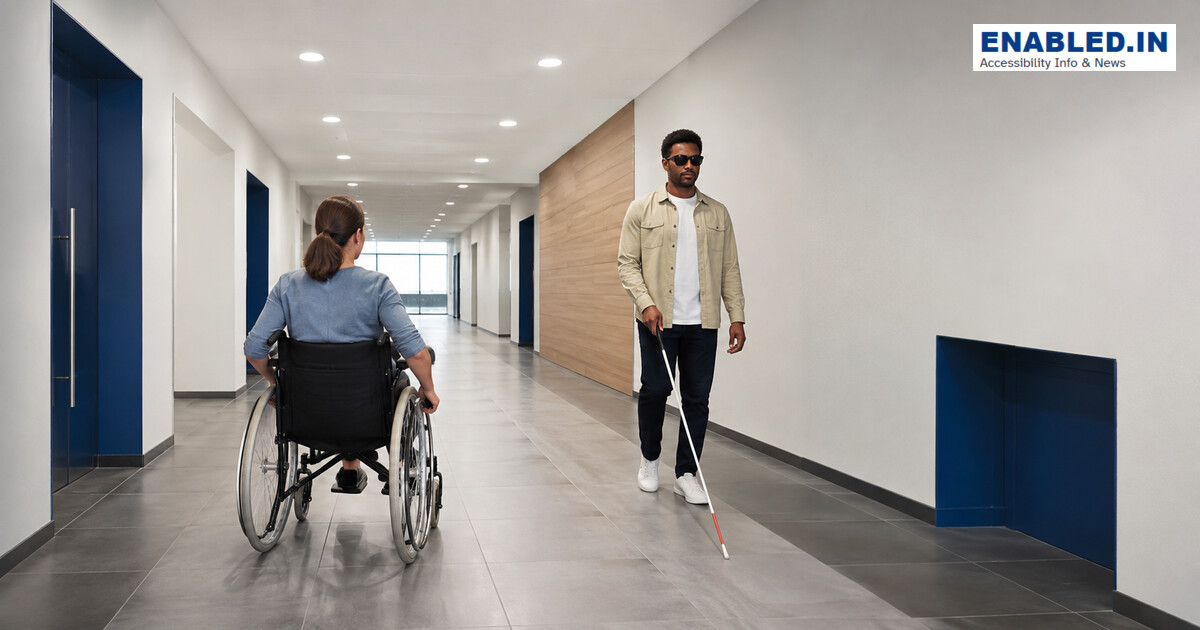
An accessible corridor or passageway is a continuous, unobstructed route that people can follow safely using wheelchairs, walkers, canes or other mobility aids. Width alone is not enough: doors, projections, turning points, passing places, lighting and wayfinding all affect usability.
Corridor measurements at a glance
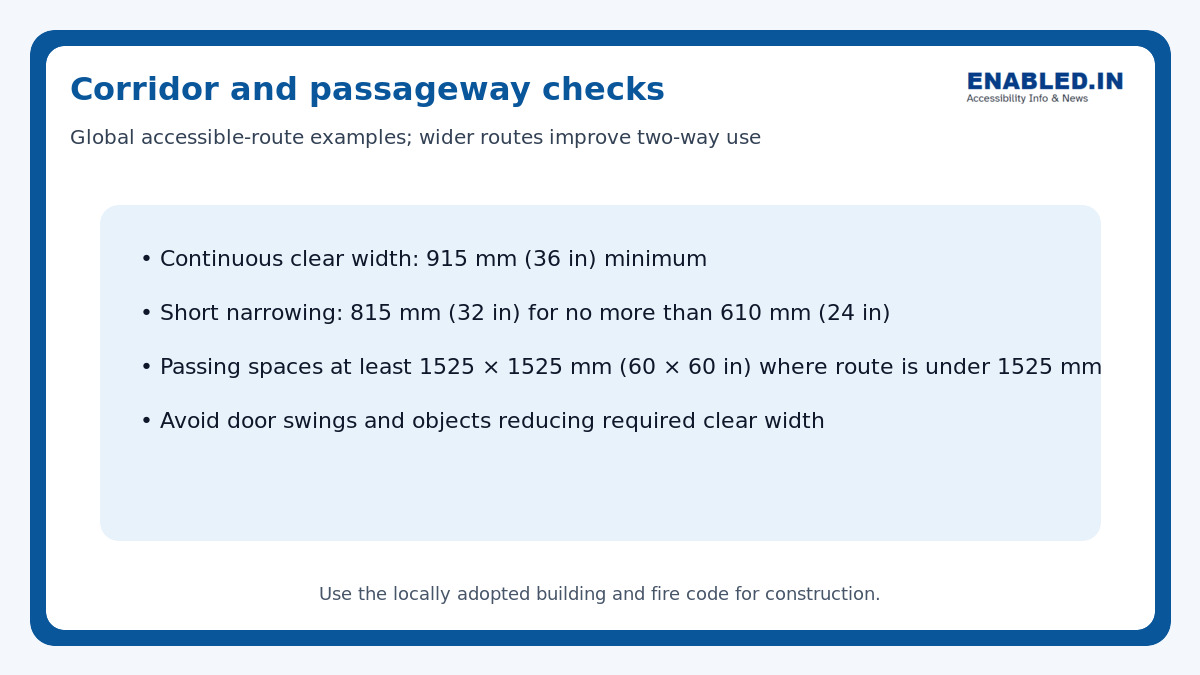
| Element | planning example |
|---|---|
| Continuous clear width | 915 mm (36 in) minimum |
| Short narrowing | 815 mm (32 in) minimum for no more than 610 mm (24 in) |
| Passing spaces | 1525 × 1525 mm (60 × 60 in) minimum where route is under 1525 mm wide |
| Passing-space interval | 61 m (200 ft) maximum in the reference example |
| Headroom | 2030 mm (80 in) minimum; guard lower hazards |
1. Protect the required clear width
Measure between the closest permanent or movable obstructions, including handrails, displays, radiators, furniture and door hardware. More than the code minimum is often needed for two wheelchairs to pass, busy healthcare routes, luggage, carts or assisted travel.
2. Provide passing and turning space
Long routes that are less than 1525 mm wide need passing spaces at intervals in the reference example. T-intersections can sometimes serve as passing spaces where compliant. At changes in direction, door lobbies and dead ends, provide enough room to turn without reversing a long distance.
3. Manage doors and recessed openings
A door leaf should not unexpectedly block the route. Recess doors or widen the corridor where local rules require it. Maintain maneuvering clearance at each doorway. Vision panels help users see opposing traffic, and low-level panels support seated users.
4. Control protruding objects and headroom
Wall-mounted signs, screens, extinguishers and dispensers can be collision hazards for blind and low-vision people. Under the one national reference, objects with leading edges between 685 and 2030 mm (27–80 in) above the floor generally may project no more than 100 mm (4 in) from the wall. Protect unavoidable low headroom with a detectable barrier.
5. Make wayfinding perceivable
Use a consistent route, clear sight lines, contrasting door frames, tactile room signs and landmarks. Avoid excessive visual clutter and shiny floors. Information should be understandable without relying only on colour. Provide seating or rest points without narrowing the path.
6. Provide safe lighting and surfaces
Use even lighting and control glare, reflections and sudden brightness changes. Floors should be firm, stable and slip resistant. Keep joints and transitions smooth. Patterned finishes should not create false edges, steps or holes for low-vision users.
Corridor inspection checklist
- Measure the narrowest clear width along the complete route.
- Check passing-space size and spacing.
- Verify turning space at corners and dead ends.
- Inspect every door swing and maneuvering space.
- Find wall-mounted objects and low headroom hazards.
- Keep fire equipment accessible without creating projections.
- Check visual contrast, tactile signs and lighting.
- Confirm seating and displays stay outside the route.
- Include temporary equipment and housekeeping carts in management checks.
Frequently asked questions
Is a 915 mm corridor wide enough everywhere?
It is the general one national reference minimum for an accessible route, not an ideal universal width. Other standards, occupancy types and local codes may require more, and two-way traffic benefits from a wider route.
How often are passing spaces needed?
Under the one national reference, where the route is under 1525 mm (60 in) wide, passing spaces are required at intervals of no more than 61 m (200 ft).
Can furniture be placed in a wide corridor?
Yes only when it remains outside required clear width, door clearances, turning and passing spaces, fire egress and detectable-object limits.