
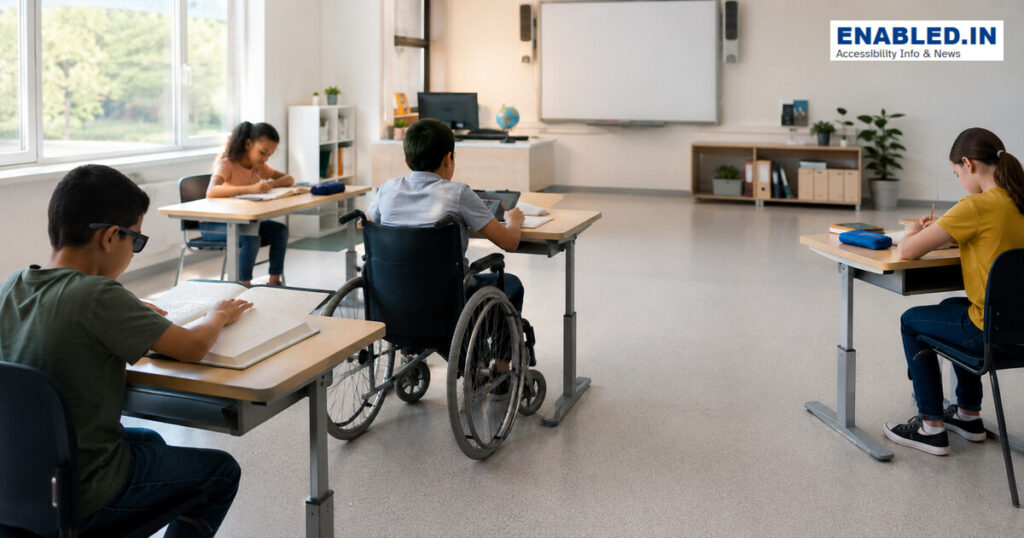
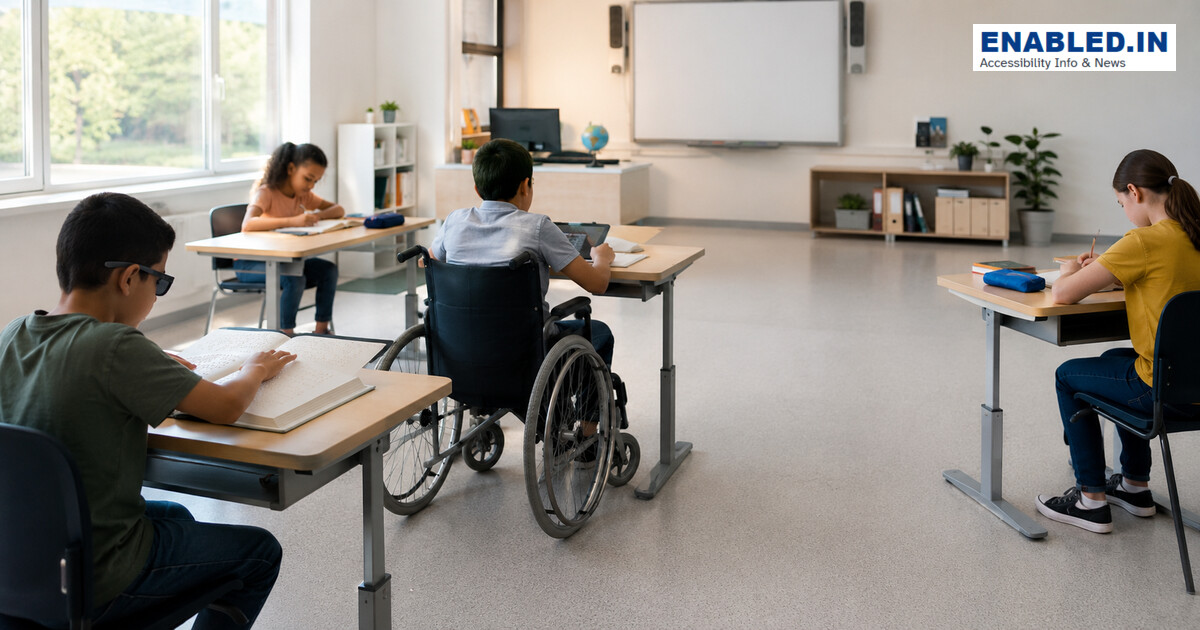
An accessible classroom enables every learner to enter, choose a seat, reach teaching and practical areas, receive information in usable formats, participate with classmates and evacuate safely.
Measurements and planning checks
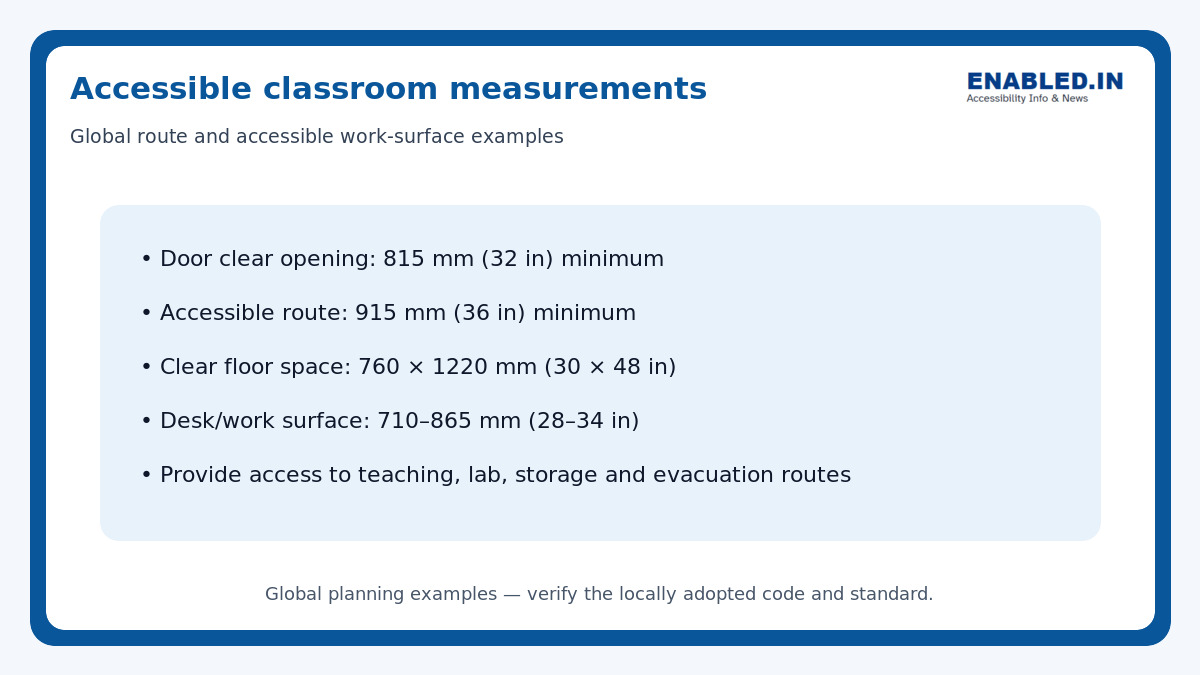
Accessible Classroom Measurements
| Accessibility Element | Recommended Measurement / Guidance | Purpose |
|---|---|---|
| Door clear opening | Minimum 815 mm (32 in) | Provides sufficient clear width for wheelchair users and people using mobility aids to enter and exit the classroom. |
| Accessible route | Minimum 915 mm (36 in) | Provides an unobstructed route through the classroom and between key learning areas. |
| Clear floor space | 760 × 1220 mm (30 × 48 in) | Provides space for wheelchair users to approach and use desks, work surfaces, equipment, and other facilities. |
| Desk / work surface | 710–865 mm (28–34 in) | Supports accessible use of classroom desks and work surfaces. |
| Teaching areas | Provide an accessible route and usable space | Ensures students and teachers with disabilities can reach teaching and presentation areas. |
| Laboratory areas | Provide accessible routes and work areas | Supports access to laboratory workstations, equipment, and learning activities. |
| Storage areas | Accessible storage should be within a usable reach and route | Helps users with disabilities independently access learning materials and equipment. |
| Evacuation routes | Maintain accessible and unobstructed evacuation routes | Supports safe emergency movement and evacuation planning for people with disabilities. |
| Local requirements | Verify the locally adopted accessibility code and standard | Exact dimensions and technical requirements may vary by country, jurisdiction, and building type. |
one national reference planning examples include an 815 mm (32 in) clear doorway, 915 mm (36 in) route, 760 × 1220 mm (30 × 48 in) clear floor space and 710–865 mm (28–34 in) accessible work surface. Education and local building rules may require more.
1. Create flexible routes and seating
Connect the door, desks, teaching area, storage, laboratory stations and exits. Disperse wheelchair positions and allow learners to choose locations.
2. Use adjustable furniture
Height-adjustable desks, supportive chairs and movable tables accommodate varied bodies and activities. Keep knee and toe space free of bags and equipment.
3. Make teaching information perceivable
Provide captions, transcripts, accessible digital documents, tactile graphics, audio description and good visual contrast according to learner needs.
4. Support hearing and visual access
Control reverberation and background noise, provide assistive listening where appropriate and prevent glare on boards and screens. Maintain clear sight lines.
5. Design inclusive practical areas
Laboratories, art rooms, makerspaces and demonstration benches need accessible work surfaces, reachable controls, safe equipment and equivalent participation.
6. Plan accessible emergencies
Use audible and visible alarms, accessible exit routes and individual emergency support plans developed with the learner.
Practical inspection checklist
- Step-free route reaches every learning function
- Accessible desks are integrated, not isolated
- Teaching area and presentation controls are reachable
- Digital and printed materials are accessible
- Lighting, contrast and acoustics are controlled
- Storage and practical equipment are usable
- Emergency alerts and evacuation plan are inclusive
Frequently asked questions
Should one accessible desk be kept at the front?
No. Provide flexible choices throughout the room so learners are not segregated.
Is a ramp to the classroom sufficient?
No. Seating, teaching materials, technology, toilets and evacuation must also be accessible.
What is an accessible classroom document?
It uses structured headings, readable text, meaningful alternatives for images and formats compatible with assistive technology.
Sources and further reading
Discover more from enabled.in
Subscribe to get the latest posts sent to your email.